How to Fix a Stripped Faucet Handle in 10 Minutes or Less?
Having the faucet handle spin may be annoying, especially considering how frequent it is and how easily it can develop over time. Thankfully, the issue can be remedied for a cost of approximately $20, along with a few screwdrivers, a wrench, and some other basic hand tools.
Fixing a Stripped Faucet Handle in Under Ten Minutes with This Easy Guide
Wear and tear on the faucet Handle cartridge is typically the culprit behind a handle that spins freely on the faucet Handle. The water pressure can be adjusted by manipulating both the cartridge and the handle, which are both attached to the faucet Handle. After the cartridge has been emptied, the handle will get slack and eventually merely spin.
The solution to the issue may be broken down into the following five simple stages.
1. Turn the Water Off
The shutoff valves for your sink should be located directly below the faucet in the sink’s base cabinet. To stop the flow of water via the faucet, you need to turn the handle counterclockwise. You may need to switch off the water supply to your house if you’re going to be working on the bathtub. You need to cover the drain as well, simply to make certain that nothing essential, like screws, falls in and gets lost down there.
2. Remove Faucet Handles or Cover Plates
It will depend on the location of your handles about the faucet cartridge as to whether or not the cover plates or the handles themselves need to be removed. Although the handles may typically be unscrewed by hand, the cover plates will require the use of a flathead screwdriver to be removed. To remove the connection screw, you might need either a screwdriver with a Phillips head or an Allen wrench.
3. Remove Locking Nut
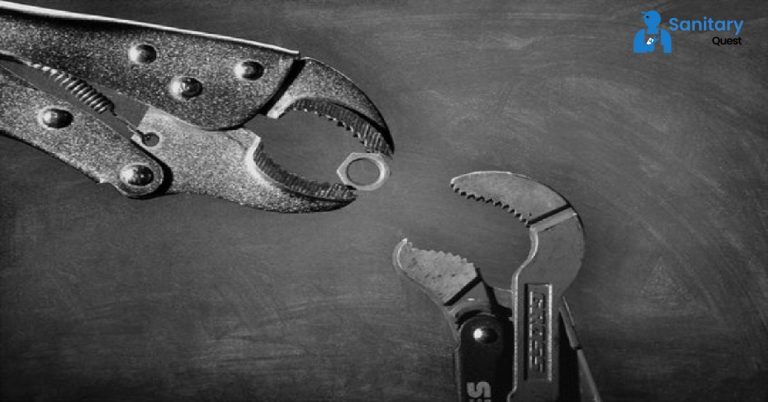
When the handle is removed, you should be able to see a locking nut that is used to secure the faucet cartridge. You’ll need a pipe wrench to remove this nut. On the very top of the cartridge, there can be a tiny screw made of brass. It is strongly suggested that you save this, as there is no guarantee that the replacement cartridge will come with a screw.
4. Remove the Faucet Cartridge
It should not be difficult to remove the faucet cartridge after the locking screw has been removed. Use pliers if it’s too difficult to do it by hand. If you haven’t already bought the replacement cartridge, you should bring the old one with you to the hardware store so that you may compare the sizes of the two.
5. Replace the Faucet Cartridge
After you have located the appropriate replacement cartridge for the faucet, you should install it and then go back through the procedures you just completed in reverse order to reassemble the handle. After that, you should start the water back up, and see how well you performed.
FAQs
Q1: What should you do if the faucet handle won’t budge?
If the faucet handle won’t move, try applying a lubricant like WD-40 to loosen it. Use a wrench or pliers with a cloth or tape to protect the fixture and gently apply pressure while trying to turn the handle. If it’s still stuck, ask a plumber for help so you don’t break anything.
Q2: How can you repair a damaged faucet handle?
To fix a damaged faucet handle, start by identifying the issue. If it’s a loose handle, tighten the screw or nut securing it to the fixture. If the handle is cracked or broken, consider replacing it with a new one of the same model or style. Remove the old handle by unscrewing it or detaching any screws or caps that hold it in place.
Q3: How can you repair a wobbly faucet knob?
To fix a loose or wobbly faucet knob, start by locating the screw or fastening mechanism that secures it to the fixture. Use a screwdriver or the appropriate tool to tighten the screw or fastener. If the problem persists, it might require further inspection or potentially replacing the knob if the attachment point is damaged or worn out.
Q4: How do you loosen a stiff faucet?
To loosen a stiff faucet, start by shutting off the water supply to the faucet. Then, try cleaning the faucet aerator or the area where the water comes out. Sometimes, debris or mineral buildup can cause stiffness. If that doesn’t help, check under the sink to ensure the shut-off valves are fully open.

