Replacing a Water Heater Gas Valve – Tips and How To?
Despite appearances, removing and changing a gas valve on a hot water tank is a rather simple process. Here is a quick and secure way to complete the task.
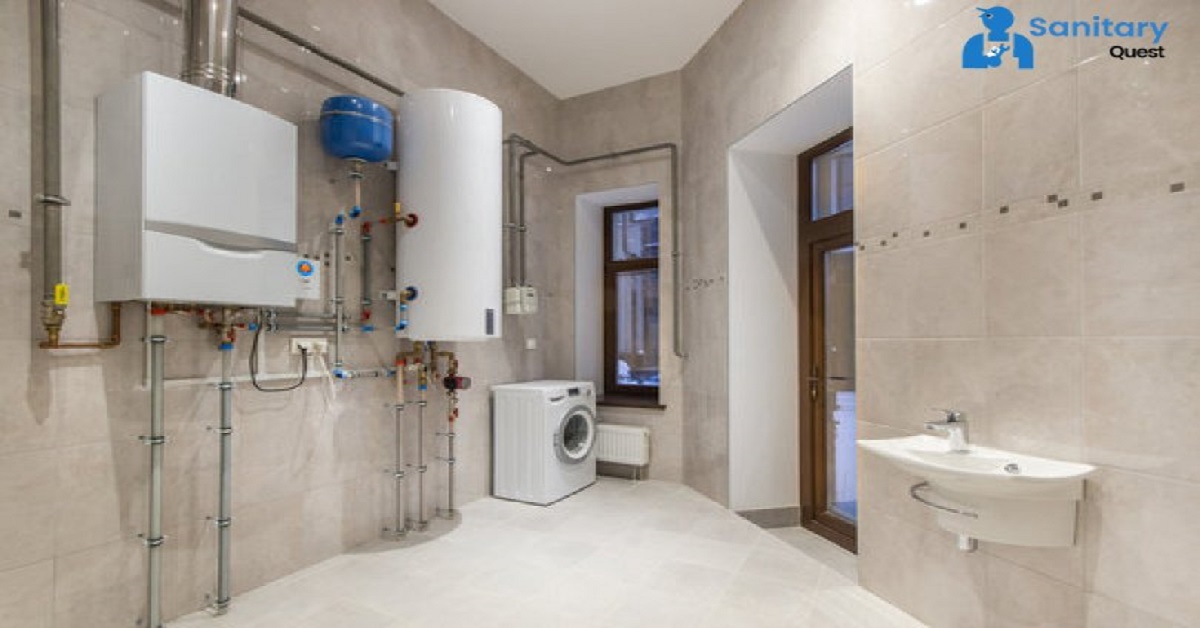
An essential aspect of a hot water tank is the gas valve, which is located within the manifold and is close to the burner. It is typically situated closer to the bottom of the tank, and it is connected to some other components, such as the manifold tube, the pilot tube, and the temperature probe. Probe for measuring the high limit, thermal fuse, igniter, and thermocouple.
The vast majority of valves are comprised of two or three knobs or buttons. These are going to be put to use to adjust the temperature and light the pilot. Through the use of the valve, the temperature may be controlled and adjusted, as well as the heater turned on or off. It is an essential part of the hot water tank in your home.
White Rodgers, Robert Shaw, and Honeywell are just a few examples of well-known manufacturers of gas valves. These three versions are available on the majority of heating systems produced by well-known manufacturers such as AO Smith, Rheem, State, American, Bradford White, GE, and Kenmore, amongst others.
How Does a Hot Water Tank Work?
In its most basic form, a water heater works by bringing the temperature of cold water up to the level that you have selected, so ensuring that hot water is readily available whenever it is required. This is accomplished by the use of a thermostat probe, which sends a signal to the heater to turn on whenever the temperature of the water is not at the level that the thermostat has been set at. As soon as the desired temperature is reached, the flow of gas is stopped, which also puts an end to the healing process.
Removing a Gas Control Valve
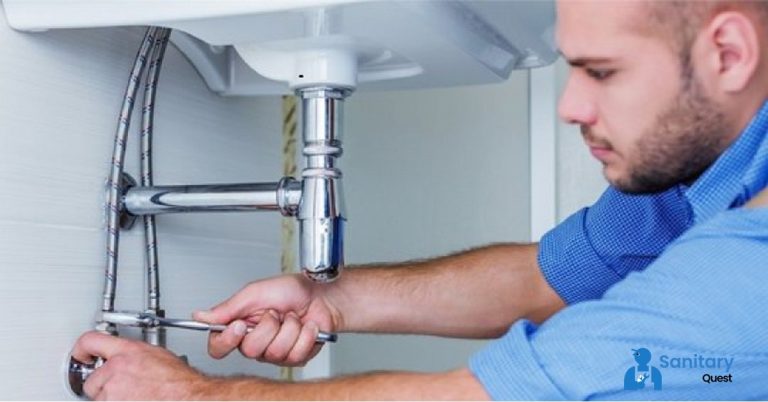
The first thing that must be done is to make sure that the gas valve is in the “off” position. Before you can turn it in, you might have to press it in first, although that depends on the model. From this location, turn off the gas valve that is attached to the line that goes to the hot water tank. Drain the water tank after turning the shut-off valve on the water line to the off position. Disconnect and remove the piezo igniter, manifold tube, pilot tube, thermal switches, and thermocouple while being careful not to damage the thread on any of the components.
To remove the valve, start by inserting the threaded pipe of the appropriate size into the inlet, and then unscrewing the pipe. Be very careful not to use a pipe wrench or to place any items into the inlet; doing so could cause damage to the device.
Replacing a Gas Control Valve
You can reattach the gas valve to the gas tube by making use of either Teflon tape or a pipe compound. When reattaching the valve, use the threaded pipe that was discussed earlier; however, be careful not to over-tighten it. This could cause damage to the valve, which would result in gas escaping. When reattaching the piezo igniter, the manifold tube, the pilot tube, the thermal switches, and the thermocouple, it is important to pay attention to the appropriate threading for each component. Check to see that the combustion chamber is clear of any dirt or other particles.
From that location, refill the tank, and then open the water tap to release any air that may be trapped inside. You can check the valve to see if there are any gas leaks by using foamy, soapy water and applying it to the gas connections with a sponge. If it bubbles, it could be an indication that there is a leak, which means that it will need to be corrected. The instructions that came with your tank should be followed to relight the pilot.
Temperature Adjustment
After you have ensured that your gas valve and hot water tank are in working order, you can then make adjustments to the temperature. The majority of valves have a setting of 120 degrees which is both the safest and most cost-effective option. There is also a mode for when you are going on vacation and won’t be utilizing the hot water, as well as the option to set it to a temperature higher than 120 degrees. The ideal temperature range for children is somewhere between 120 and 125 degrees.
Problems
If you’ve already changed the gas valve, yet the problem persists, the problem may lie elsewhere. For instance, if you are unable to keep the pilot lit, the thermocouple may be the source of the problem. You can do a check on the pilot tube to see if it has any obstructions in it.
FAQs
Q1: How do you replace a gas heater valve?
Replacing a gas heater valve involves several steps. First, ensure the gas supply is turned off. Detach the gas line from the old valve and use a pipe wrench to unscrew the valve from the heater. Replace it with a new valve of the same model, applying thread sealant or joint compound to the threads before installing.
Q2: Do you need to drain your water heater to change the gas valve?
Usually, you don’t have to pour out all the water from the heater to change the gas valve. Just make sure to turn off the gas and water before you start. If you feel unsure, it’s best to ask a professional for help.
Q3: How does a water heater gas valve operate?
The water heater gas valve controls the flow of gas to the burner. It works in conjunction with the thermostat. When the water temperature drops below the set level, the thermostat signals the gas valve to open, allowing gas to flow to the burner. This ignites the gas, heating the water in the tank.
Q4: Can I replace the gas valve myself?
Replacing a gas valve on a water heater can be complex and potentially hazardous. If you have experience with this type of repair, feel confident in working with gas lines, and understand the necessary safety precautions, you might be able to do it. However, if you’re unsure or uncomfortable, it’s safer to have a professional handle the replacement to ensure it’s done correctly and safely

